Shower handles are a key component of the Delta shower system, a popular brand known for its reliability and design. These handles allow you to control the flow and temperature of water in your shower with ease. However, there may come a time when you need to remove the handle, whether it’s for cleaning, maintenance, or replacement. In this blog, we’ll explore how to remove a Delta shower handle, with instructions tailored to both screwless models and those with screws.
What is a Delta Shower Handle?
A Delta shower handle is a device that attaches to the valve stem of a shower and is used to adjust the water’s temperature and pressure. Designed with usability and aesthetic appeal in mind, Delta shower handles come in various styles and finishes, fitting different bathroom designs.
Tools Needed to Remove Delta Shower Handle
Now that you know what a Delta shower handle is, there are some tools you will need to gather before you get started.
- Allen Wrench or Hex Key – Often required for set screws that hold the handle in place
- Flat-Head Screwdriver – Useful for prying off the cap or cover on the handle
- Phillips Head Screwdriver – May be needed for certain handle screws
- Plumber’s Grease – To lubricate any stiff parts
- Adjustable Wrench or Pliers – For removing the locking nut, if present
- Clean Cloth – To protect the finish and clean up any residue
- Vinegar (optional) – Helpful for dealing with mineral build-up around the handle
- Plastic Bag & Rubber Band (optional) – If using vinegar to soak parts of the handle
- Towel or Rag – To lay down on the shower floor to prevent losing parts and to protect the surface
- Penetrating Oil (optional) – If screws are corroded or difficult to remove
- Replacement Parts (if necessary) – New handle, set screw, or other specific parts you may need to replace
Make sure you have all these materials at hand before starting the removal process to ensure a smooth and efficient job.
Steps to Remove Delta Shower Handle With No Screw
For a Delta shower handle without visible screws, follow these steps:
- Start by turning off the water supply to avoid any accidental water spills.
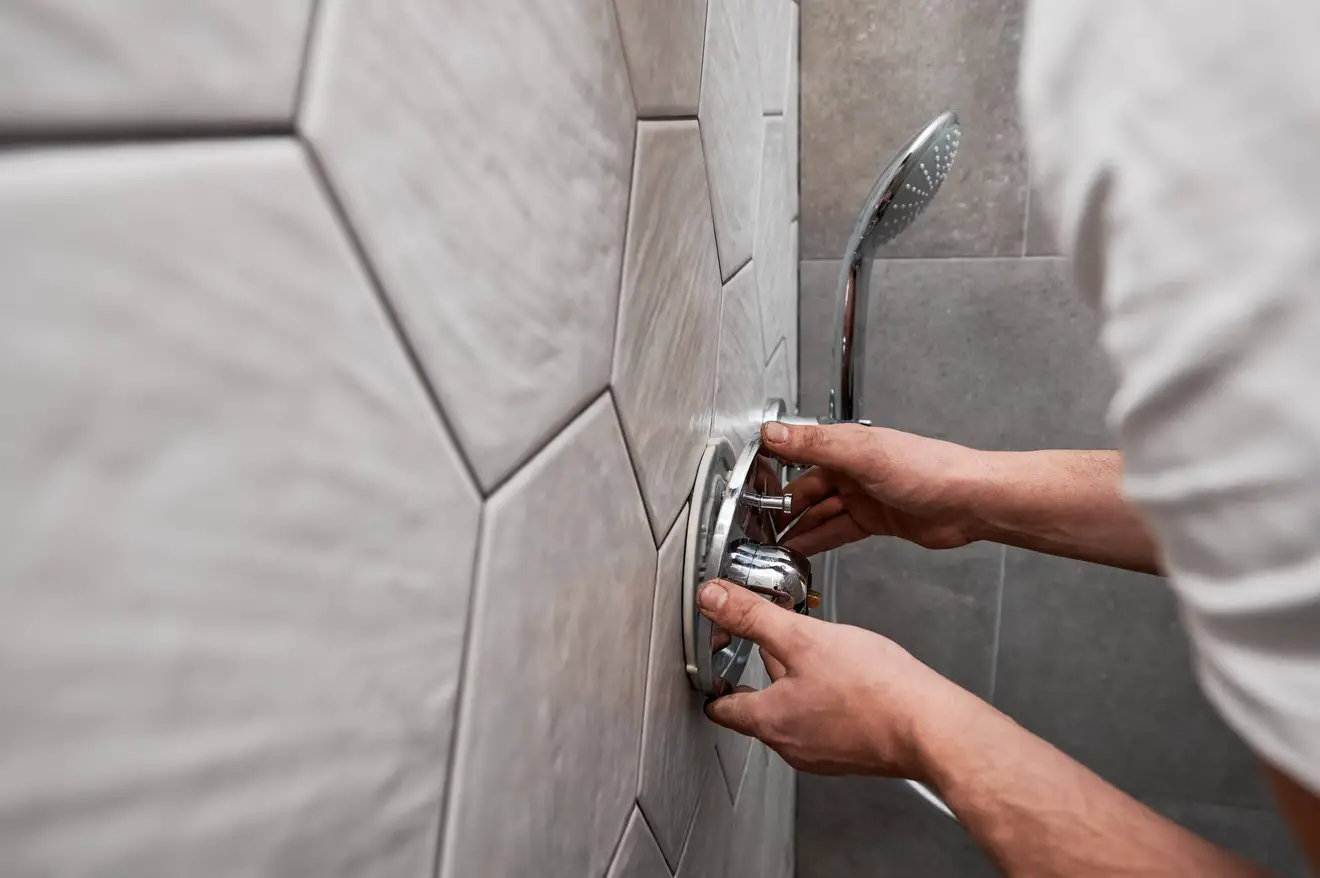
- Look for the cap or button that’s often located on the front or side of the handle. This cap conceals the handle’s retaining mechanism.
- Carefully pry off the cap with a flat-blade screwdriver. Apply gentle pressure to avoid damaging the finish.
- Once the cap is removed, you will see the retaining mechanism, which could be a set screw or an Allen key slot.
- Use an appropriate Allen wrench or screwdriver to loosen the screw. Do not fully remove it unless necessary.
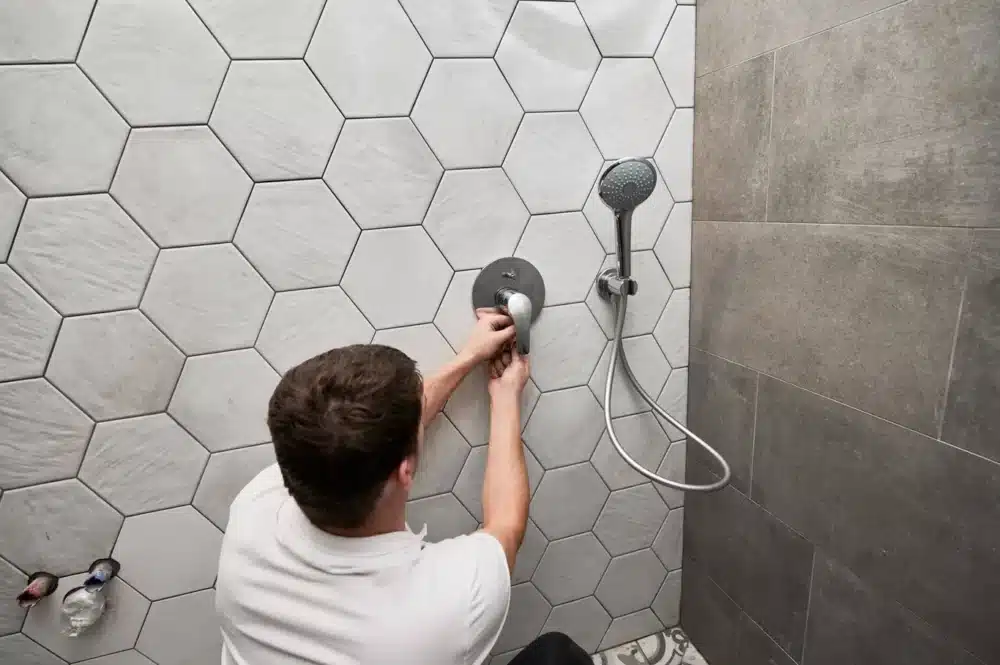
- After loosening the screw, pull the handle away from the wall to remove it from the valve stem.
Steps to Remove Shower Handle That Has a Screw
If your Delta shower handle has a visible screw:
- Shut off the water supply before beginning the removal process.
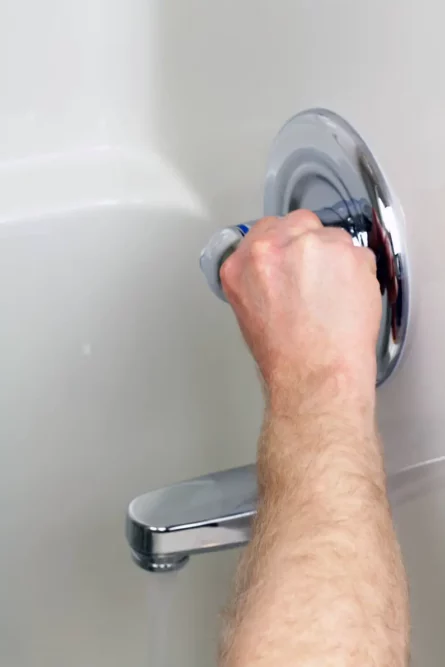
- Unscrew the handle by turning the visible screw counterclockwise using a Philips head screwdriver.
- Once the screw is removed, gently pull the handle away from the wall and off the valve stem.
Maintenance of the Delta Shower Handle
Regular maintenance of your Delta shower handle ensures longevity and optimal performance. Clean the handle with a soft cloth and mild soap to prevent buildup of mineral deposits and soap scum. Avoid using abrasive cleaners that can damage the finish. Additionally, check periodically for any signs of wear or corrosion and lubricate the valve stem if necessary to maintain smooth operation.
When Do You Know If It Needs Replacing?
It’s time to replace your Delta shower handle if you notice:
- Persistent leaks even after replacing the O-rings or other internal components
- Cracks or breaks in the handle material
- Difficulty in turning the handle, which could indicate a worn-out valve stem
- Visible wear and tear that affects the aesthetic or functional aspects of the handle
Preventative Maintenance
Now that you know about how to remove a Delta shower handle, let’s take a look at a few other areas of recommended maintenance. One of those is the bathroom sink water. It can be safe to drink, but remember the water in the sink does not run as often as the water in the kitchen sink. Thus, you want to make sure that you flush the pipes, maybe set up a water softener if you have hard water, and listen for leaks in the pipes.
Another is tiling a shower. This can take a few days or longer, depending on the size of the shower and how much time you have each day to tile it. If you hire a professional, it will also depend on their schedule.
Lastly, sometimes you need to change out the shower head. The good news is if you want to change it out for another one, shower heads are universal.
When Do I Call a Professional?
Consider calling a professional plumber if:
- The handle is stuck, and you’re unable to remove it without applying excessive force.
- You notice damage to the plumbing behind the handle during removal.
- You’re not comfortable performing the replacement or any required maintenance tasks.
- There’s evidence of water damage or complex issues beyond simple wear and tear.
Conclusion
Removing a Delta shower handle is usually a straightforward task that homeowners can undertake with basic tools. Whether your model has a set screw or not, careful handling is essential to avoid damage. Also, regular maintenance and timely replacement can prevent plumbing issues and ensure a pleasant shower experience. Always consult a professional when in doubt to guarantee the job is done safely and correctly.