Homeowners often find that they have to maintain areas in their homes. If you paint a wall, you have to remove the baseboards. If you decide to add a decorative look, you may find yourself adding baseboards. Whatever the case may be, you may need to cut them. Wondering how to cut baseboard corners? Using a miter saw and brad nailer, you will follow the steps to cut baseboard corners.
Let’s take a closer look at this project.
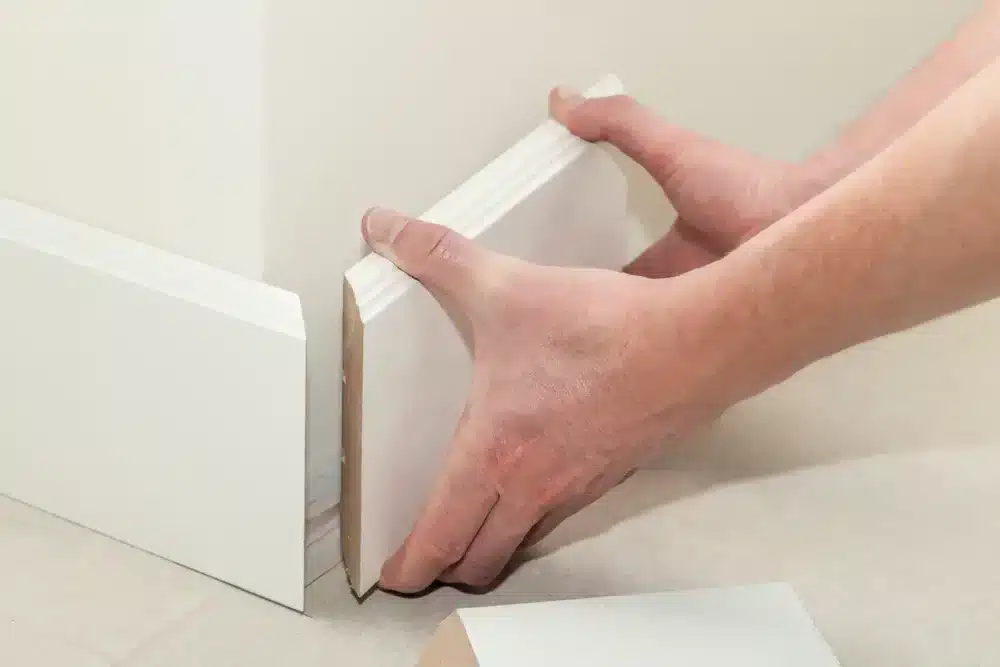
What Are Baseboards?
Baseboards are long, narrow boards that are installed along the bottom of walls to provide a decorative and finished look. They also serve to protect the wall from damage and can help hide any gaps or imperfections between the wall and the floor.
Why is it Difficult to Cut Baseboard Corners?
Cutting baseboard corners can be challenging because the corners of most rooms are not perfectly square. This means that the angles at which the baseboards need to be cut may vary from corner to corner. Achieving precise cuts can be difficult without the proper tools and techniques.
Tips to Install Baseboards
- Measure twice, cut once: Accurate measurements are crucial for achieving tight-fitting baseboards. Double-check your measurements before making any cuts.
- Use caulk: Apply a thin bead of caulk along the top edge of the baseboard where it meets the wall. This helps hide gaps and creates a professional finish.
- Nail spacing: Place nails approximately every 16 inches along the length of the baseboard. This provides sufficient support while minimizing the risk of splitting the wood.
Tools You Will Need
- Power miter saw
- Power brad nailer
- Measuring tape
- Pencil
- Safety goggles
- Ear protection
- Caulk gun
- Sandpaper
- Level
Let’s Talk About Safety
When working with power tools, safety should always be a top priority. Wear appropriate protective gear, such as safety goggles and ear protection. Keep fingers clear of the saw blade and follow all safety guidelines provided by the tool manufacturers.
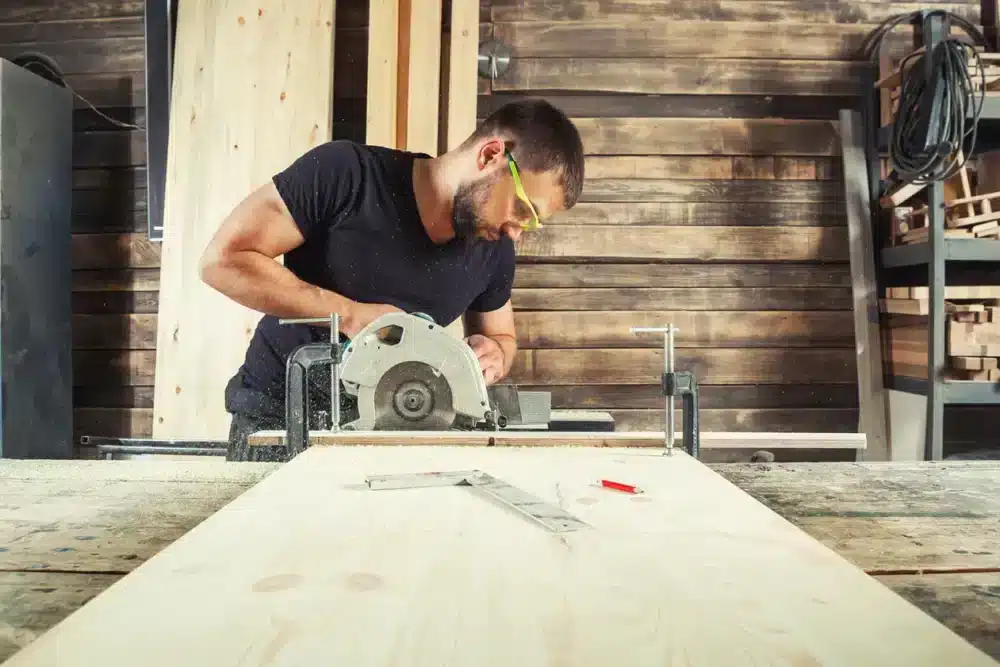
Power Miter Saw
A power miter saw is an essential tool for cutting baseboards accurately and efficiently. It allows for precise angled cuts, perfect for creating seamless corners. Make sure to familiarize yourself with the operation of the saw before use.
Power Brad Nailer
To secure the baseboards to the walls, a power brad nailer is recommended. This tool drives small nails into the surface, holding the baseboards securely in place. Be mindful of proper handling and follow manufacturer’s instructions to prevent any accidents.
How to Cut Baseboard Corners
- Measure and mark the miter cut: Use a measuring tape to determine the length of the first baseboard. Transfer this measurement to the board, marking the desired angle for the corner cut.
- Set the miter saw angle: Adjust the miter saw to match the angle you marked on the baseboard. Make sure the saw is securely positioned and aligned correctly.
- Cut the first angle: Hold the baseboard firmly against the saw’s fence, ensuring it is level. Activate the saw and carefully make the cut at the marked angle.
- Measure and mark the second angle: Measure the length needed for the second side of the corner and mark it on the baseboard, considering the desired angle for the corner cut.
- Adjust the miter saw to the opposite angle: Modify the miter saw’s angle to match the second angle measurement. Verify the accuracy of the angle before proceeding.
- Cut the second angle: Position the baseboard securely against the fence, aligning the marked angle properly. Activate the saw and make the cut following the marked angle.
- Test the corner fit: Place the two cut pieces together to check the corner fit. If adjustments are necessary, use sandpaper or the miter saw to refine the angles until a seamless corner is achieved.
Other Recommended Maintenance
Now that you know about cutting baseboard corners, it’s a good time to learn about more recommended maintenance. One of those is how to regrout tile without removing old grout. To do this, gather the tools and supplies and follow the instructions.
Another is using Fabuloso on floors. This is a great idea to use on wood floors to get them clean. To do this, you need to use it In moderation and dilute it properly.
Lastly is filling a gap between the baseboard and tile floor. This is done with caulk. If the gap is too wide for caulk, use a quarter-round.
When to Call a Professional
Installing baseboards can be a relatively straightforward task, but certain circumstances may warrant hiring a professional. Consider seeking professional help if:
- You lack experience with power tools or woodworking.
- The job requires extensive measurements or complex cuts.
- The walls or floors are uneven, requiring additional skill to install the baseboards properly.
Conclusion
By following these guidelines and using the appropriate tools, you should be able to successfully install baseboards in your home. Remember to prioritize safety and take your time to ensure accurate measurements and precise cuts. With practice, you’ll develop the skills to achieve a professional-looking finish. After you are done adding in your baseboards, call House Inspection Associates to conduct a full home inspection in the Virginia, D.C., and Maryland areas.